Why a Failed Order Block Often Becomes the Strongest Zone Later.
📌 Introduction
In smart money and price-action trading, we’re taught that Order Blocks (OBs) are areas where institutional players leave footprints. But what happens when an OB fails? Is it invalid? Should we ignore it?
In this article, I’ll explain a powerful yet underrated pattern: how and why a failed OB often becomes the strongest support/resistance zone on a later revisit — and how to use this to your advantage.
🔍 What’s an Order Block?
An Order Block (OB) is a price zone where:
- Institutions have placed large orders, often causing a reversal or continuation.
- It’s commonly the last bullish or bearish candle before an impulsive move.
Traders use OBs to enter with the “smart money” instead of fighting against it.
🔁 The Curious Behavior: OB Fails First, Then Works
Sometimes, when price returns to an OB:
- It breaks through it.
- Traders assume it’s invalid.
- But price soon reverses from a deeper zone, then returns again to the OB and respects it perfectly.
This can be confusing — unless you understand liquidity inducement and smart money traps.
🧠 The Reason Behind This
Let’s unpack why this happens:
1. Liquidity Sweep (Inducement)
- Price goes through the OB on the first revisit to grab liquidity below/above.
- It clears out early entries and triggers stop losses.
- This fills smart money’s orders at a better price.
👉 The OB isn’t invalid — it’s being prepared.
2. Trap Setup
- The fake break traps breakout traders.
- These traders become fuel for the real move later.
3. Refined Entry
- After the sweep, price returns to the original OB — now with:
- Liquidity removed ✅
- Institutional interest confirmed ✅
- Momentum aligned ✅
This makes the zone far more likely to hold.
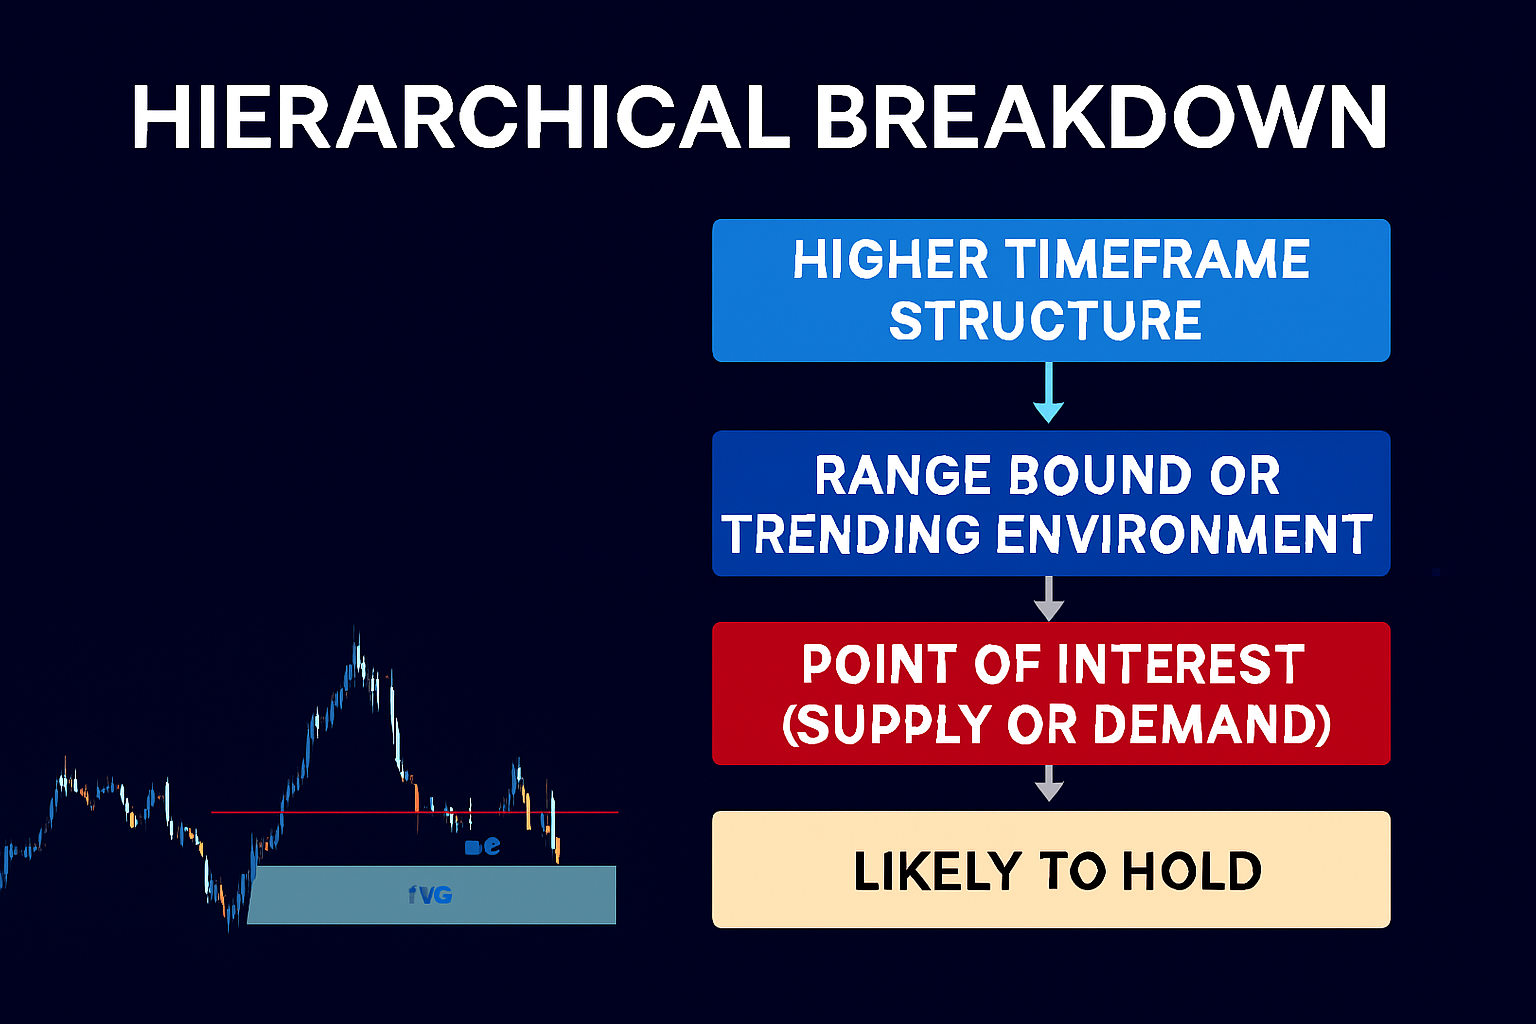
Illustration:

📊 Example Breakdown (Refer to Chart)
In the chart above:
- Price returns to a green bullish OB → slight reaction → then a breakdown.
- A deeper OB (blue zone) absorbs the real demand → causes reversal.
- On the return, price respects the same green OB and launches aggressively.
This shows:
- First touch = inducement
- Second touch = confirmation
🛠 How to Trade It
Here’s how you can apply this pattern in real-time:
✅ Step 1: Mark all clear OBs.
✅ Step 2: Watch if the first return breaks it — don’t react emotionally.
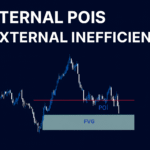
✅ Step 3: Look for a deeper liquidity sweep (e.g., FVG fill or stronger OB).
✅ Step 4: Wait for price to return to the same OB.
✅ Step 5: Look for confirmation (e.g., BOS, CHoCH, rejection wick, engulfing).
🎯 Second or third touches are higher probability than the first!
📚 Advanced Tip: Combine With Volume or Session Timing
- If the fake break happens during low volume or Asian session, expect a trap.
- If the revisit happens during London or New York open, expect strong reaction.
- Use Volume Profile or Delta candles to confirm institutional absorption.
✅ Conclusion
Next time you see an OB get violated, don’t rush to delete it. Observe how price behaves after the sweep. More often than not, that same zone becomes a powerful magnet for price.
By understanding the psychology behind smart money moves, you gain an edge over retail traders who get trapped by the first reaction.

🧠 Key Takeaway:
“The first touch is often to trap. The second touch is often the real deal.”
See how I use this.